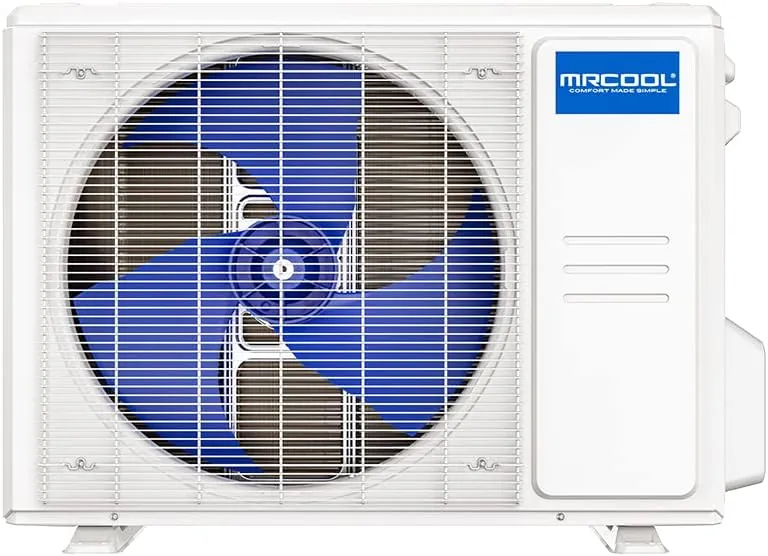
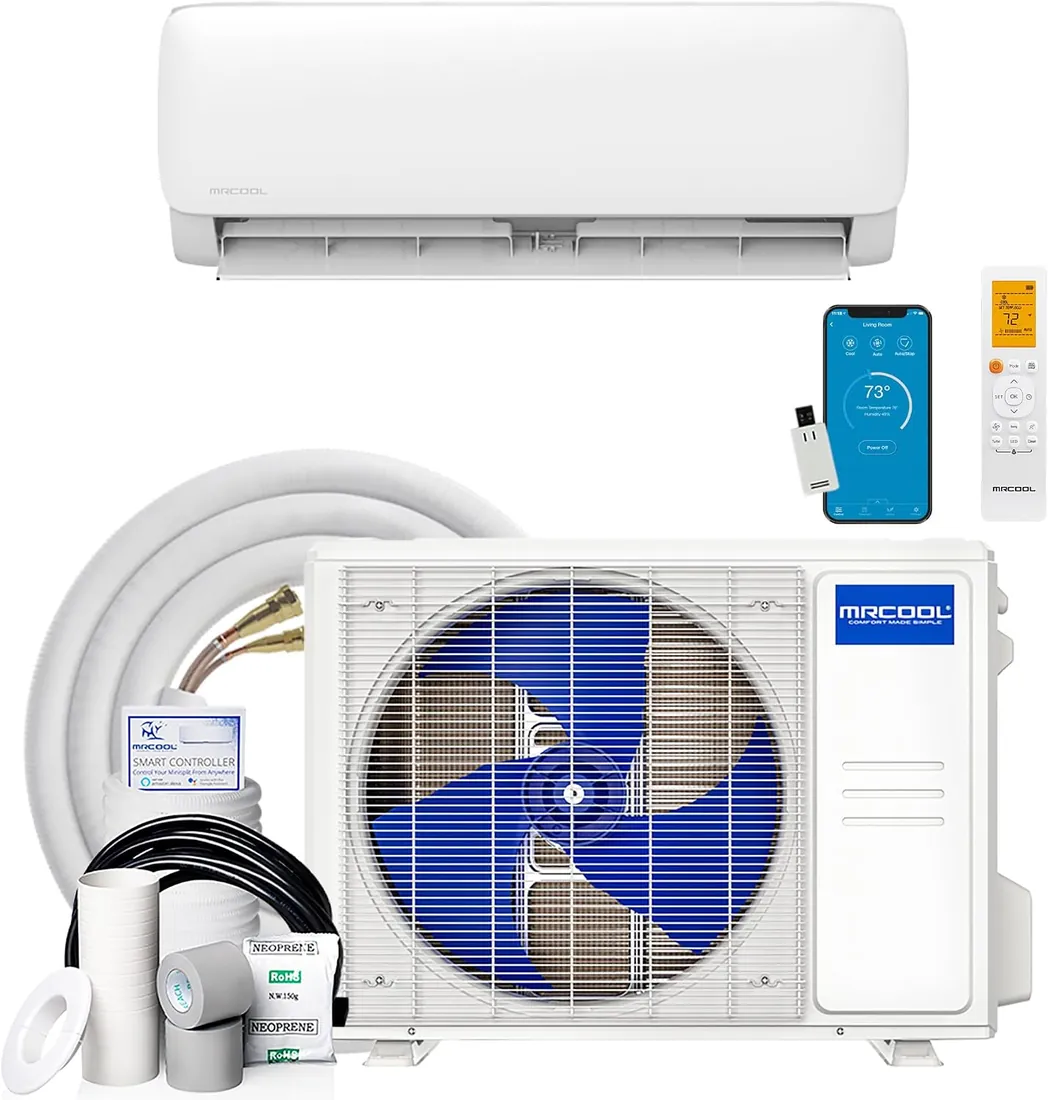
Mounting the indoor head and outdoor unit, drilling the wall penetration and running the line-set cover are DIY-friendly. Opening a refrigerant circuit means pulling a vacuum and releasing the charge, which in the US requires EPA Section 608 credentials for anyone handling refrigerant, and most makers tie the warranty to a licensed installer. Quick-connect DIY systems such as MRCOOL DIY avoid that with sealed, pre-charged lines.
Who does what
| Task | DIY? |
|---|---|
| Mount the head and wall plate | Yes |
| Drill the 3 in wall penetration | Yes |
| Set the outdoor unit on a pad, stand or bracket | Yes |
| Connect, vacuum and open the refrigerant lines | Licensed technician (unless quick-connect) |
| Run a new 115V or 230V circuit and disconnect | Licensed electrician in most areas |
| Permits and inspection | Check with your building department |
Quick-connect systems
Pre-charged quick-connect lines screw onto both units, so no vacuum pump or refrigerant handling is needed. The trade-off is fixed line lengths; see the MRCOOL Easy Pro and the DIY mini-split list.
Tools for a standard install
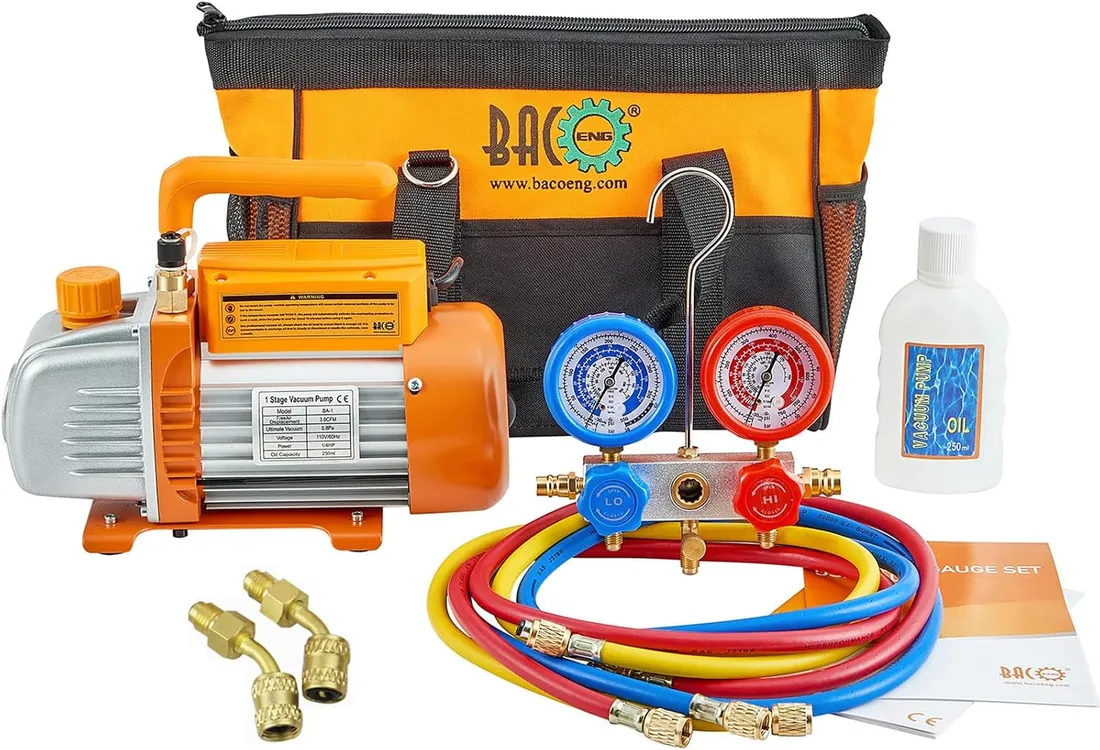
Standard flare installs need a flaring tool, a torque wrench, a micron gauge and a vacuum pump such as the BACOENG pump and gauge set; most owners leave this step to a technician.